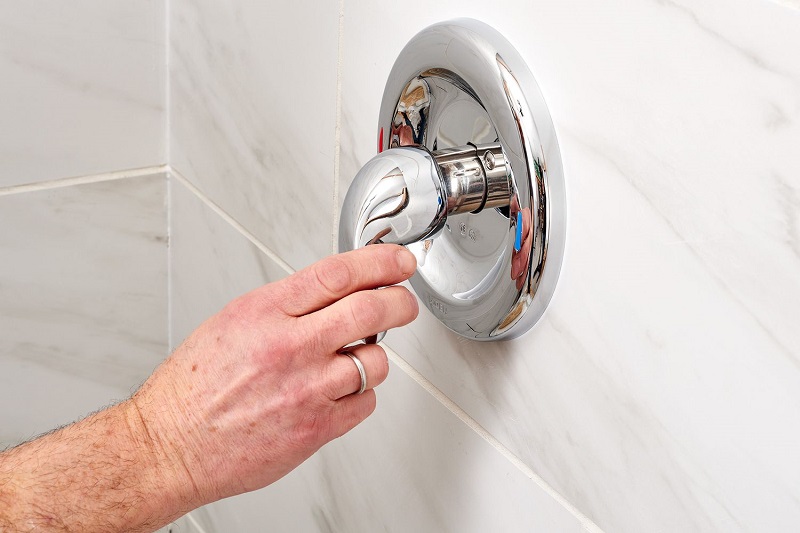
Hey DIY champions! So, you’re gazing at your shower, and that handle is looking a bit tired, huh? Fear not, because we’re about to embark on a quest – the noble endeavor of replacing your shower handle. It’s like giving your bathroom a mini facelift, and you’re the superhero wielding the wrench. Ready to dive in? Let’s roll up those sleeves and get started!
The Handle Swap Ballet: A DIY Adventure
Imagine your shower handle is the lead dancer in a performance, but it’s time for a costume change. Replacing a shower handle is like orchestrating a ballet – it requires a few steps, a bit of finesse, and a touch of drama (the good kind). So, let’s break it down, pirouette style!
Step 1: The Grand Unveiling – Remove the Old Handle
First things first, let’s bid adieu to the old handle. It’s like taking off a worn-out costume to reveal the shiny new outfit underneath. Find any screws, caps, or decorative elements concealing the handle’s attachment to the shower valve. A trusty screwdriver is your backstage pass to reveal the inner workings.
Step 2: Examine the Plumbing Ensemble – Know Your System
Once the old handle is gracefully out of the spotlight, take a moment to admire the plumbing ensemble beneath. It’s like peeking behind the curtain to understand the magic. Identify the valve type – is it a ball valve, cartridge valve, or a ceramic disk valve? Knowing your plumbing stars is crucial for choosing the right replacement handle that can harmonize with the system.
Step 3: Retail Therapy – Find the Perfect Replacement
Time for a little shopping therapy! Head to your local hardware store or browse online for a replacement handle that tickles your design fancy. It’s like selecting the ideal accessory to complement your outfit – you want it to dazzle and match the overall ensemble. Ensure the replacement handle is compatible with your shower’s valve system. The goal is a seamless fit, like Cinderella and her glass slipper.
Step 4: The Installation Tango – Secure and Align
Now, let’s waltz into the installation phase. Align the new handle with the valve stem, ensuring it sits snugly. It’s like fitting puzzle pieces together – everything needs to align for the magic to happen. Secure the handle in place with screws or any hardware provided, tightening them just enough for a firm grip. Don’t go Hulk-smashing – finesse is the name of the game.
Step 5: Test the Waters – A Performance Check
With the new handle in place, it’s time for the grand performance check. Turn on the water and test the handle’s movements. It’s like a dress rehearsal for a Broadway show – you want everything to flow smoothly. Check for any leaks, drips, or awkward movements. If all is well, congratulations, maestro! You’ve successfully replaced your shower handle.
Maintenance Encore – Keep It Shiny and New
Now that your shower handle is stealing the spotlight in its new costume, a little encore in the form of maintenance is in order. Regular check-ups and cleaning are like giving your handle a standing ovation. Tighten any loose screws, wipe away any soap scum, and ensure it remains the star of your bathroom production.
FAQs – Navigating the Handle Replacing Symphony
Q1: Can I replace my shower handle myself?
Absolutely! Replacing a shower handle is a doable DIY project. Just make sure to follow the manufacturer’s instructions and have the necessary tools on hand. It’s like choreographing your own dance – you’re the director of this DIY ballet.
Q2: How do I know which replacement handle to choose?
Consider the type of valve your shower has – ball valve, cartridge valve, or ceramic disk valve. Choose a replacement handle that’s compatible with your system. It’s like picking a dance partner who knows the steps to your favorite routine.
Q3: Do I need any special tools for replacing a shower handle?
A trusty screwdriver is your main companion for this adventure. Depending on the handle and your shower’s setup, you might also need an Allen wrench or pliers. It’s like having the right props for a theater performance – each tool plays a crucial role.
Q4: Can I replace a single handle with a double handle, or vice versa?
While it’s technically possible, it’s not recommended. Single handles and double handles are designed for specific plumbing setups. Switching them might require modifications to your plumbing system. It’s like trying to swap the lead actor in a play – it’s a different script.
Q5: How often should I check and maintain my shower handle?
Regular check-ups are a good practice. Tighten any loose screws, wipe away any grime, and ensure smooth operation. It’s like giving your shower handle a wellness check – a little attention goes a long way in maintaining its performance.


