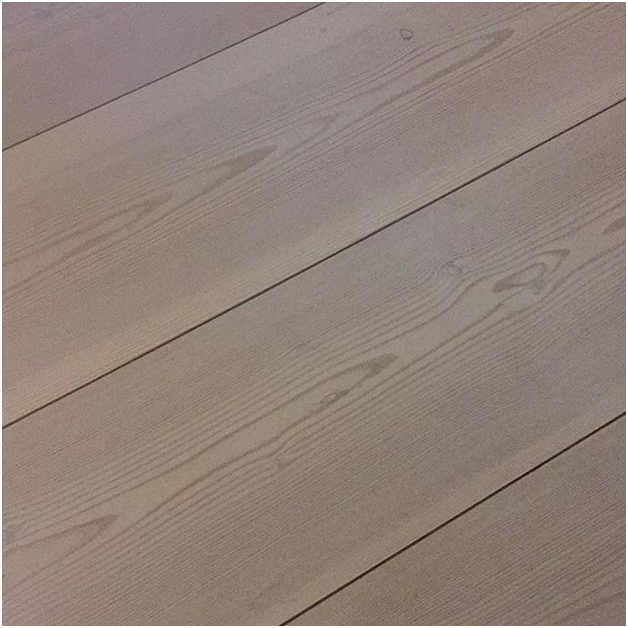
Wide plank flooring looks great on a kitchen floor and is hard-wearing too. Read our guide on how to install it.

Preparation
Get all the tools you’ll need ready before you start, including a tape measure, spacers and circular saw, as well as wood blocks and adhesive. You can then begin to prep the area you are covering.
Clear the floor surface and if your kitchen units are sitting on plywood, you’ll need to lay an extra subfloor to meet it, making sure you overlap the joint and align the edges with the joint.
Before starting to lay down planks, make sure your room is square by measuring off the exterior wall. Make a line the length of the kitchen in pencil or chalk to use as a reference point, then mark lines where you’re going to nail the boards down.
You can get advice on what sort of flooring will suit and how to fit it from wooden floor specialist such as wood floor warehouse.
Get the Boards Ready
Cut your boards using a miter saw before rounding them off with a hand-held sander. When laying a wide plank wood floor, it’s best to have a staggered look and not have all boards the same length.
According to Ideal Home, extra-wide boards and planks are becoming more popular, especially those which have distressed finishes.
Apply Adhesive
Apply adhesive to the back of the plywood, then line the plywood up in front of the door and nail it down. You should lay the boards the opposite way to your floor joists so that you can nail them into the joists.

Lay the Boards
Start at the threshold of the room and mark every 16 inches in order to keep the layout square before glueing the boards down. Put a wedge between each plank and a temporary block, then nail the block in place. You then need to measure out to the lines to ensure the boards line up. Knock in your wedges until the planks are even.
Nail the Boards
Measure a finger’s width from the edge of each board before nailing them in place, then when this done, you can remove the wedges and continue with the next plank. Put spacers by the wall which allow a quarter of an inch of expansion and contraction.

