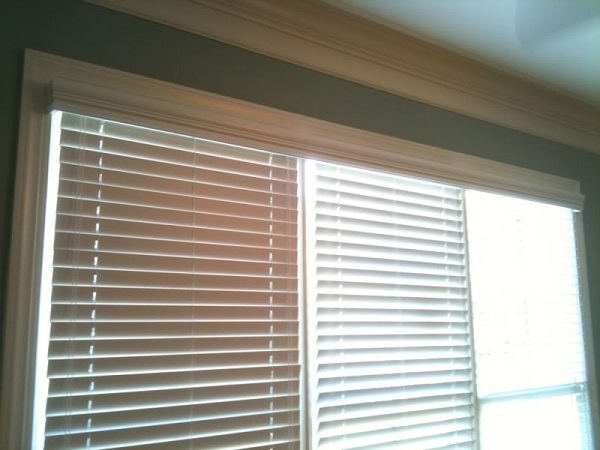
You may be ready to install your blinds and enjoy the beauty as well as the comfort of your new blinds. However, you should first pay attention on the proper way to install before leaping into the project. Installation is very important if you want the blinds to look nice and give you the look and feel you desire.

Installing Instructions for your Blinds
When you open the blinds, leave the cords tied together. The very first things you need to do are measure and ensure you place the head rail level inside the window frame. If the head rail is not completely level, the blinds will be uneven and will look atrocious. When you are sure the proper placement, use a pen and make a mark on the frame at each end of the head rail where you will install the brackets.

According to the width of the blinds, you may also need a center bracket, whereas with steel blinds you will need support along the entire head rail. Look at the blinds to see if you have a support ladder in the center before you begin installing the brackets. If there is a center ladder, then you will also have to mark the location for this bracket to ensure you have the proper support for your blinds.

Mark the screw holes with a pencil as well once you know the location. In the majority of cases, if you want the valance to be flush with the wall, it is best to place the brackets around 5/8 inch inside the window frame. Insert all the screws and tighten while ensuring you have the brackets level. Install the valance by clipping it to the face of the head rail.

Open the bracket door latches on both sides and slide the head rail to the brackets and to the center supports. Place the blinds in place ensuring you line the brackets up properly as you do not want to damage the cord ladders. When you have the blinds in place, close the bracket latches completely. You will hear a snap.

